
It’s almost time for apple-everything to start popping up: apple pies, apple cakes, apple fritters, caramel apples, apple crisp, apple cider…you name it, there’s a way to put an apple in it. There is certainly no shortage of culinary outlets for fall’s favorite fruit.
However, should you find yourself with an abundance of apples and a desire to take a break from the kitchen, this craft should do the trick.
All it takes is one quick slice, something to stamp, and a few creative ideas to turn a simple apple into a craft station staple.
For this project I decided to stamp a set of kitchen towels, but the possibilities are endless. You could stamp fabric of any kind: canvas bags, pencil pouches, t-shirts, table runners – whatever suits you best.
And if you feel like venturing outside the world of fabric, just switch out the fabric paint for acrylic paint or ink pads and stamp up some coasters, gift bags, thank you cards, and the like. Need a new teacher gift for Back to School night? An apple print would fit perfectly on the corner of a clipboard or on a homemade sign for the classroom.

Let your imagination run wild as your apple basket runs over.
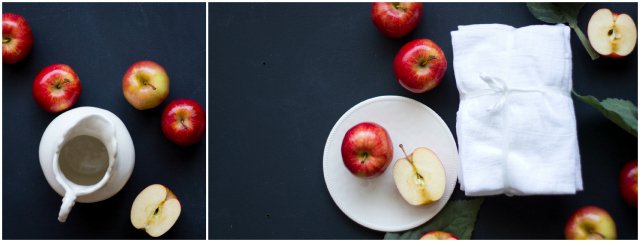
Supplies:
-
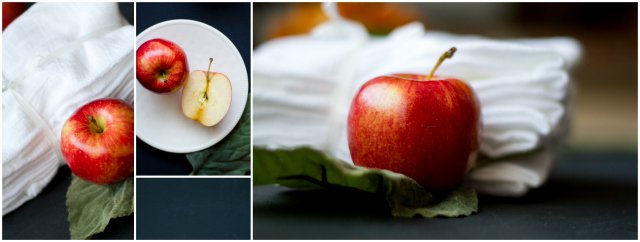
Apples (any kind – I used Gala)
-
Kitchen Towels
-
Fabric Paint
-
Fabric Markers
-
Paper Plates
-
Newspaper
Instructions:
1. Cut the apples in half. Since you are trying to achieve as flat of a surface as possible for the stamp, it’s best to use a sharp knife and to cut quickly and cleanly through the apple.
2. Make clean up easier (and catastrophes less-likely) by covering your workstation with newspaper. Put a dollop of paint on a paper plate and smear the flat side of the apple around until it’s completely covered, but not gloppy. If there is too much paint of the apple just give it a quick tap on another paper plate to achieve an even consistency.
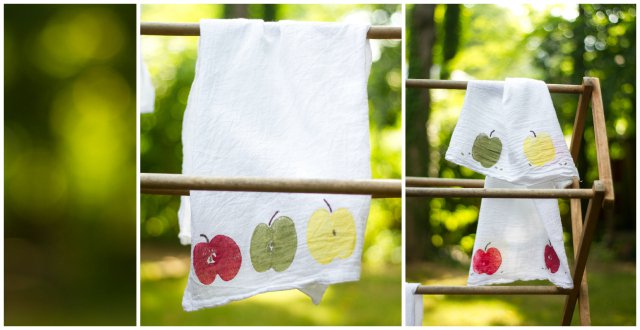
3. Firmly press the apple onto the kitchen towel (or whatever fabric you are stamping), being careful to apply equal pressure to all sides before carefully lifting it up. This is an imperfect process; if there are gaps in the paint, don’t sweat it! You can fill in the unpainted areas using a foam brush (or just leave them as-is and call it natural art – why not?!).
4. Once the paint dries a bit, add in stems, seeds, and any other personal touches you’d like.
5. Lay the towels flat to dry and follow the directions on the back of the paint bottle for finalizing and washing instructions. (Each brand is different; mine suggested waiting 72 hours before using and washing in cold water.)
